If you want your forest photos to look truly professional, it’s not just about having a good camera—it’s about understanding light, controlling your scene, and adding creative effects like lens flare in a natural way. Forest environments are complex, but once you learn how to work with them, your images can look cinematic and high-end.
Here’s a deeper, more practical guide to help you shoot like a pro.
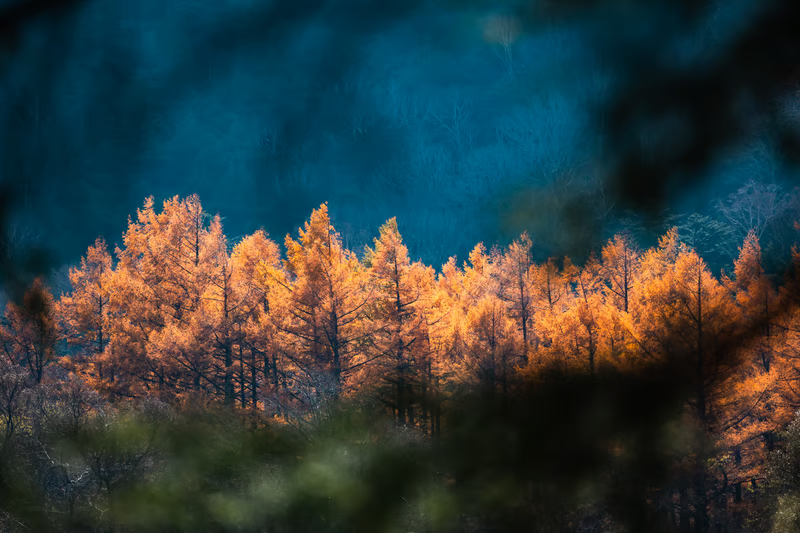
Understanding Forest Light (The Game Changer)
Light behaves very differently in forests compared to open landscapes. Trees block, scatter, and shape light in unique ways.
Soft Light vs Harsh Light
- Soft light (best): Found during early morning, late evening, or cloudy weather
- Harsh light (avoid): Midday sun creates strong shadows and blown highlights
Pro Tip:
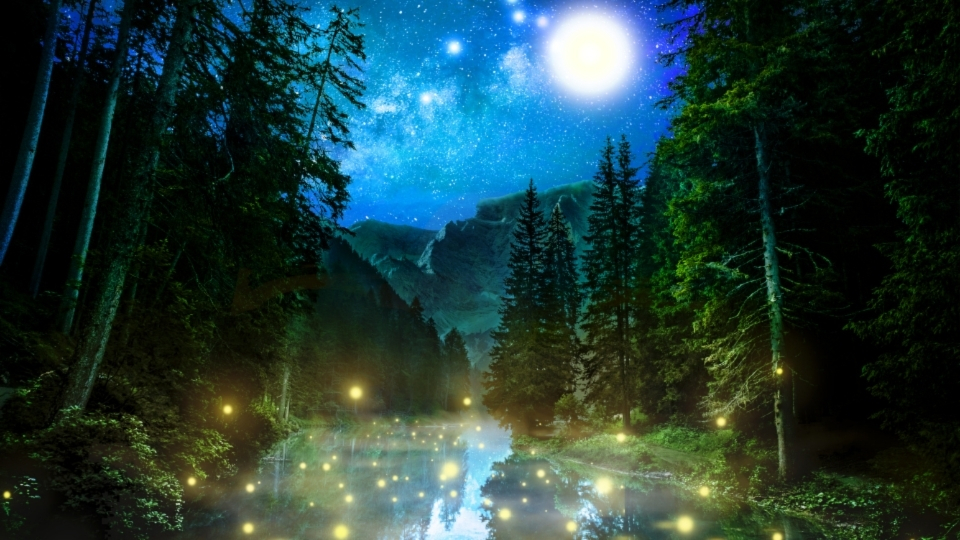
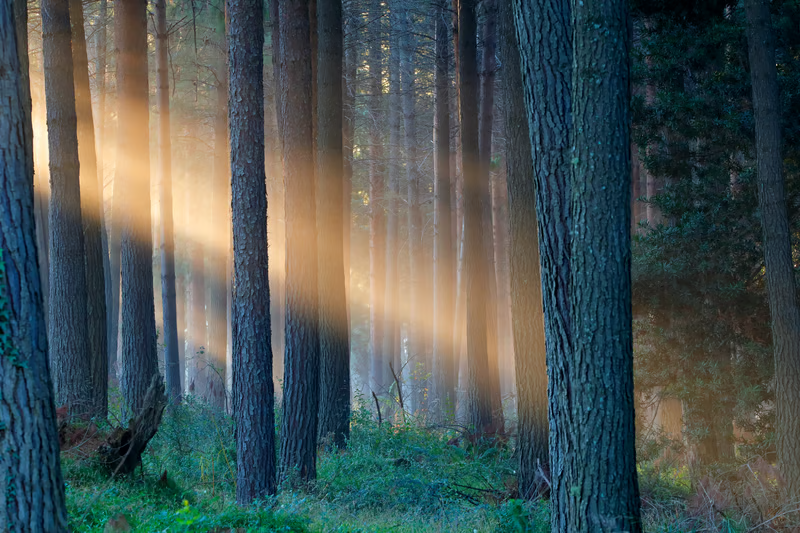
Look for light beams coming through trees. These rays add drama and depth and instantly make your photo stand out.
How to Shoot Perfect Lighting
1. Use Side Lighting
Instead of shooting directly into the sun, place the light source slightly to the side. This creates texture on tree bark, leaves, and ground details.
2. Backlighting for Magic
Shoot with the sun behind your subject:
- Leaves will glow
- Fog becomes more visible
- Creates dreamy, golden effects
3. Control Exposure
Use these settings as a base:
- Slightly underexpose (-0.3 to -1 EV)
- Protect highlights (important in bright areas)
Mastering Lens Flare (Cinematic Look)
Lens flare happens when sunlight hits your lens directly. Beginners try to avoid it—but professionals use it creatively.
How to Create Lens Flare
- Shoot toward the sun (but not fully centered)
- Partially block sunlight with trees or branches
- Move your camera slightly until flare appears
Types of Lens Flare
- Soft glow flare: Warm and dreamy
- Starburst effect: Use small aperture (f/16 or higher)
- Color flare: Adds artistic color streaks
Pro Tip:
Don’t overdo it. Too much flare can ruin detail—balance is key.
Pro Composition Secrets
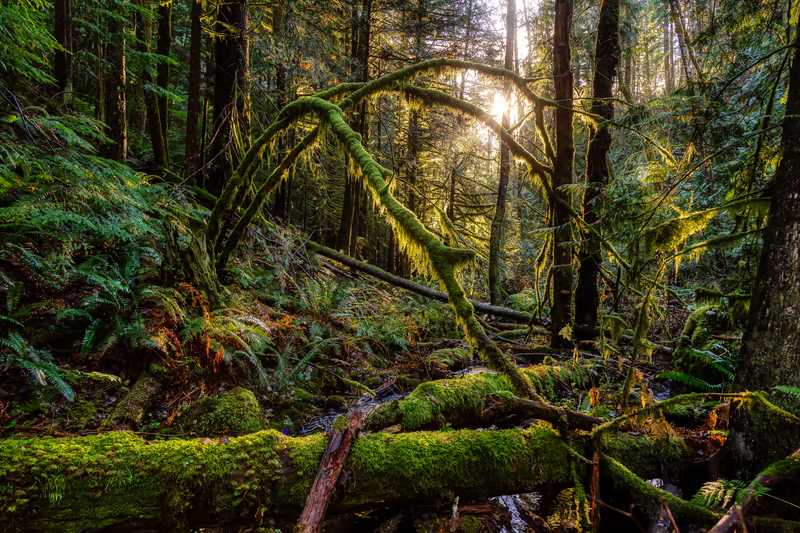
1. Layering Technique
Divide your frame into:
- Foreground (leaves, rocks)
- Midground (trees)
- Background (fog, light)
This creates a 3D effect.
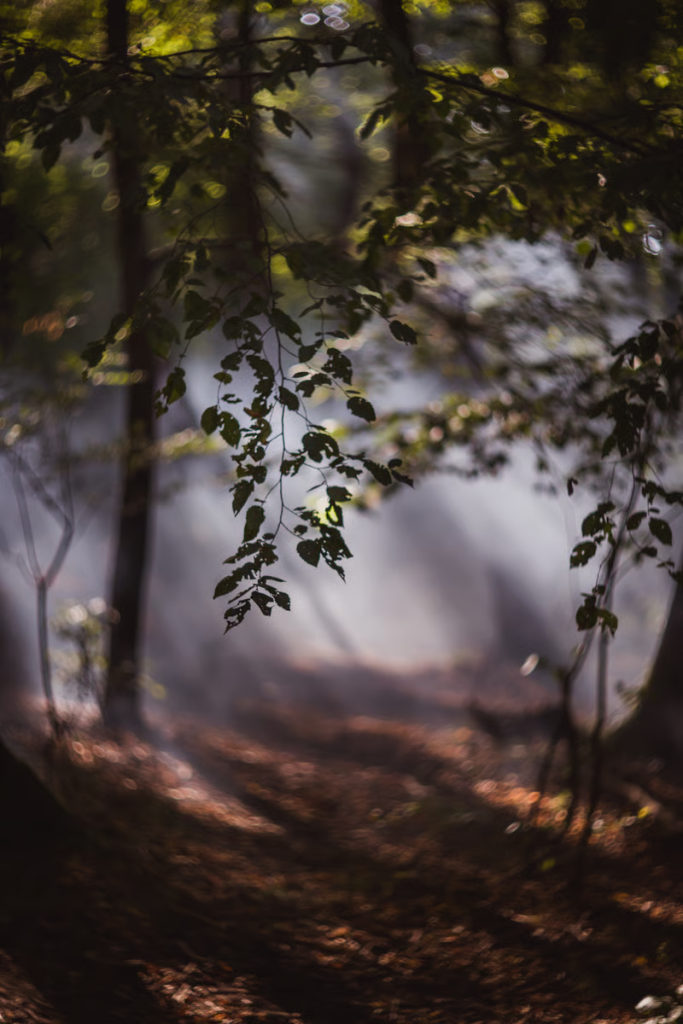
2. Use Negative Space
Leave empty areas like fog or sky to give your subject breathing room.
3. Depth Through Fog
Fog naturally separates layers and makes your photos look professional without heavy editing.
Camera Settings Professionals Use
For Sharp Forest Shots
- Aperture: f/8 – f/11
- ISO: 100 – 400
- Shutter Speed: Adjust based on light
For Artistic Shots
- Aperture: f/2.8 – f/5.6 (background blur)
- Slow shutter for motion blur
Advanced Techniques for Pro-Level Results
1. Long Exposure in Forests
Use a tripod and slow shutter speed to:
- Blur waterfalls or streams
- Smooth moving leaves
2. Focus Stacking
Take multiple shots at different focus points and combine them later for extreme sharpness.
3. Color Control
Forests are mostly green—too much green looks unnatural.
- Reduce green saturation slightly
- Add warm tones for balance
Editing Like a Professional
Editing is where your photo becomes art.
Basic Workflow
- Adjust exposure and contrast
- Fix white balance
- Enhance highlights and shadows
Advanced Editing
- Add light rays manually (if needed)
- Use dodge & burn to guide attention
- Apply subtle color grading (cinematic tones)
Common Mistakes That Kill Professional Quality
- Shooting in flat, boring light
- Ignoring background clutter
- Over-editing colors
- Not using a tripod in low light
- Taking random shots without composition
Final Pro Tips
- Visit forests after rain for richer colors
- Use fog whenever possible—it’s a natural filter
- Experiment with angles—shoot low, shoot high
- Be patient—great forest shots take time
- Study your scene before clicking
Conclusion
Becoming a pro in forest photography isn’t about expensive gear—it’s about mastering light, understanding your environment, and adding creative elements like lens flare in a controlled way.
When you combine good lighting, strong composition, and thoughtful editing, your photos will instantly stand out. Forests are full of hidden beauty—your job is to reveal it with skill and creativity.